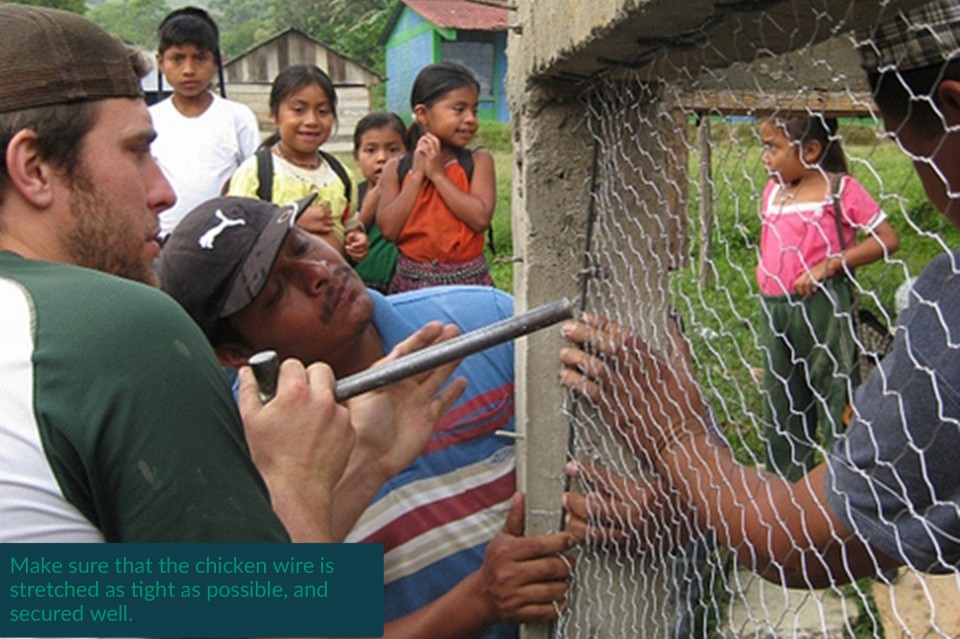
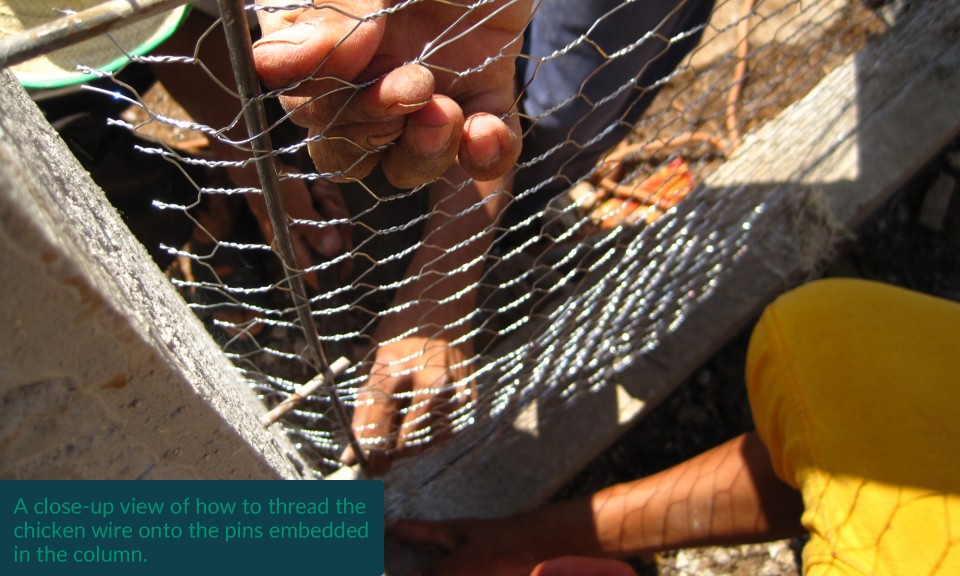
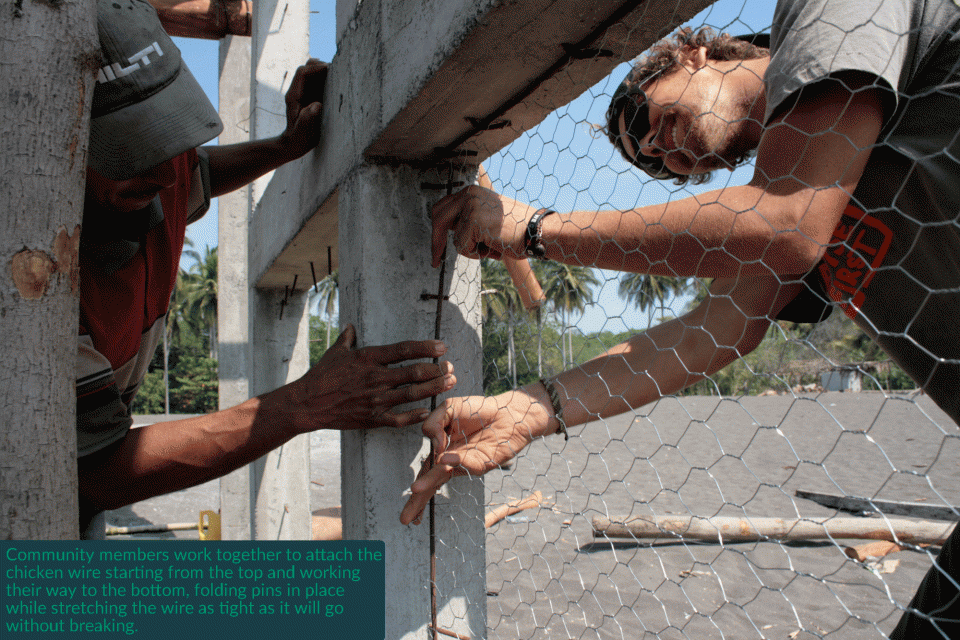
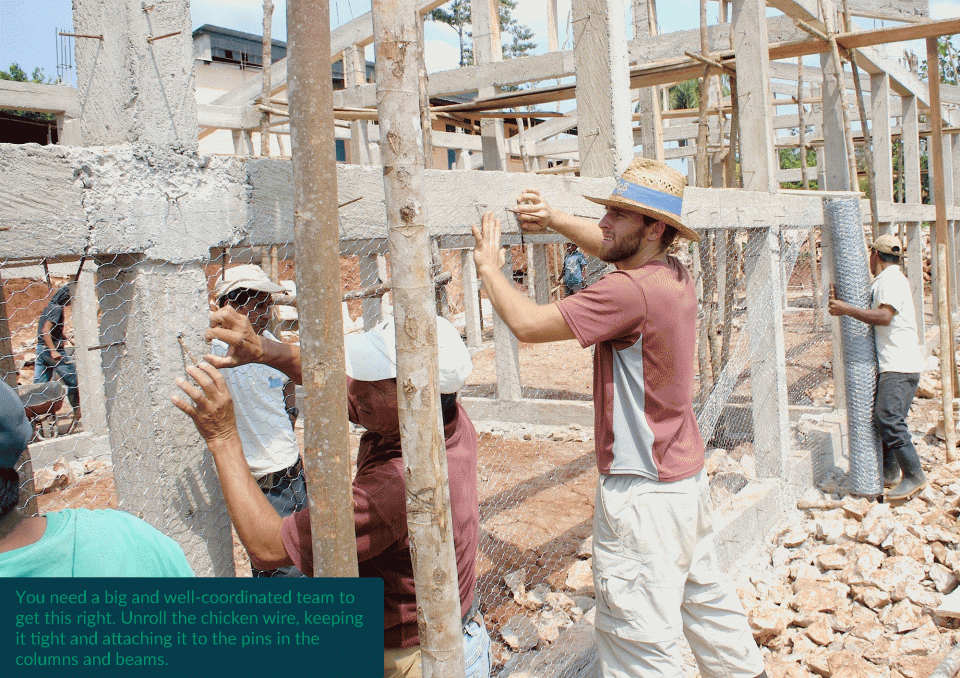
Chicken wire is what you will tie the eco-bricks to, and it provides a surface onto which the cement can hold. We recommend chicken wire with 1 inch holes.This step is the trickiest part of the build. Work in teams of 2 or 3 to stretch the chicken wire across the openings in the walls as tight as you can without it breaking. This takes some experimentation and trial runs, but you will get the hang of it.
• Begin on the inside of the classroom. Start with the inner face of the first, lower section in the wall. Cut the chicken wire to the size of that section.
• Before placing the first square of chicken wire, thread ⅟4 inch rebar (2-3 cm shorter than size of the wall section) through the 4 edges of the piece with which you are working. This will help anchor your chicken wire square to the wall after you bend the pins to hold the chicken wire in place.


