• Secure your string or yarn to the very edge of your chicken wire, where you will be adding your first bottle at the bottom row of your wall.
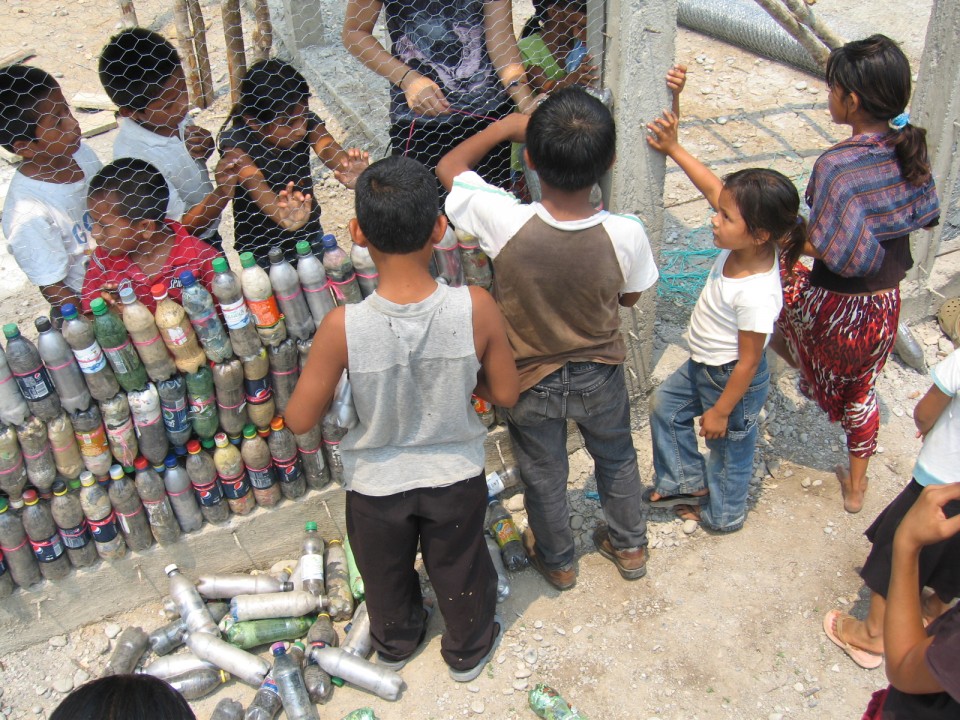
• The bottom row should be placed right side up, and with your string you can weave each bottle to the chicken wire.
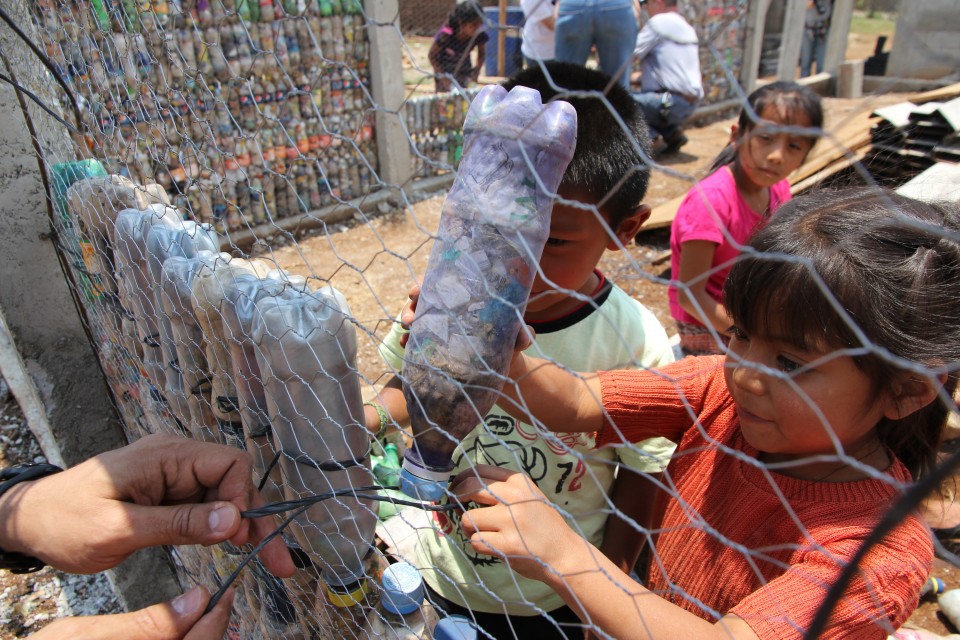
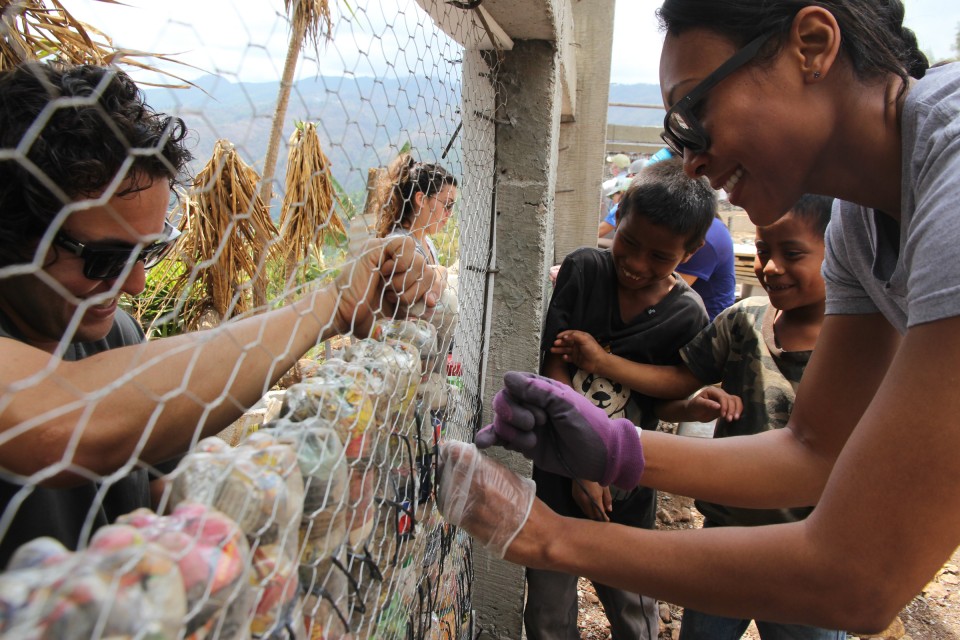
• Work in pairs, with one person on each side of the chicken wire. One person pushes a loop through the chicken wire, the other person puts the eco-brick through the loop.
• Put two loops over each bottle (once near the bottom and once near the top) before moving onto the next bottle. This helps keep the bottles straight in the wall.
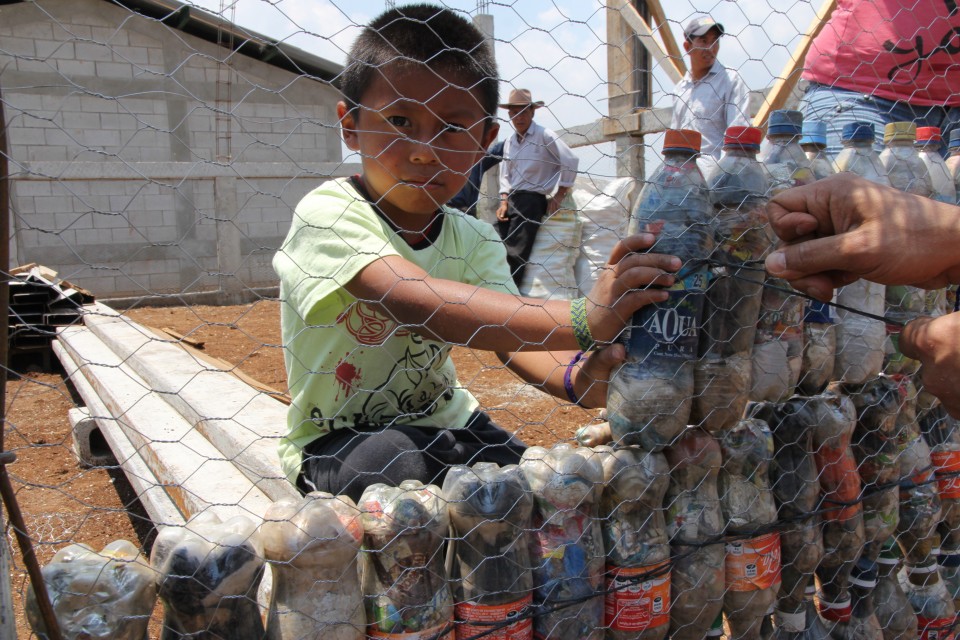
• Secure the bottles as tightly and uniformly as possible, keeping the string as taut as possible at all times. If the string is not kept evenly tightened throughout the whole process, then your wall of bottles will cause the chicken wire to bow. It’s worth taking your time to do this right; it saves a lot of trouble later.
• The next row of bottles will be upside down, with the bottle tops interlocking. Again the bottles are woven to the chicken wire so that they cannot move. The following row will be placed right side up on top of the previous row, and so on.


