CEMENT

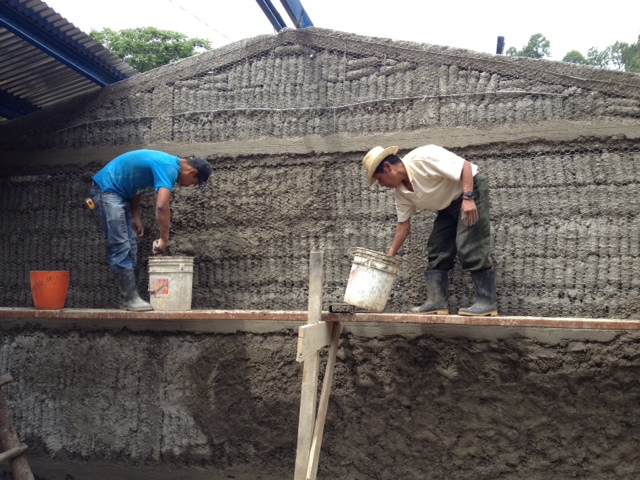
• In total, you need to use 3 layers of cement in order to completely cover the eco-bricks on both sides.

• The first layer of cement is the thickest. This cement clings to the chicken wire, trash, and eco-bricks. This layer has a rough finish.

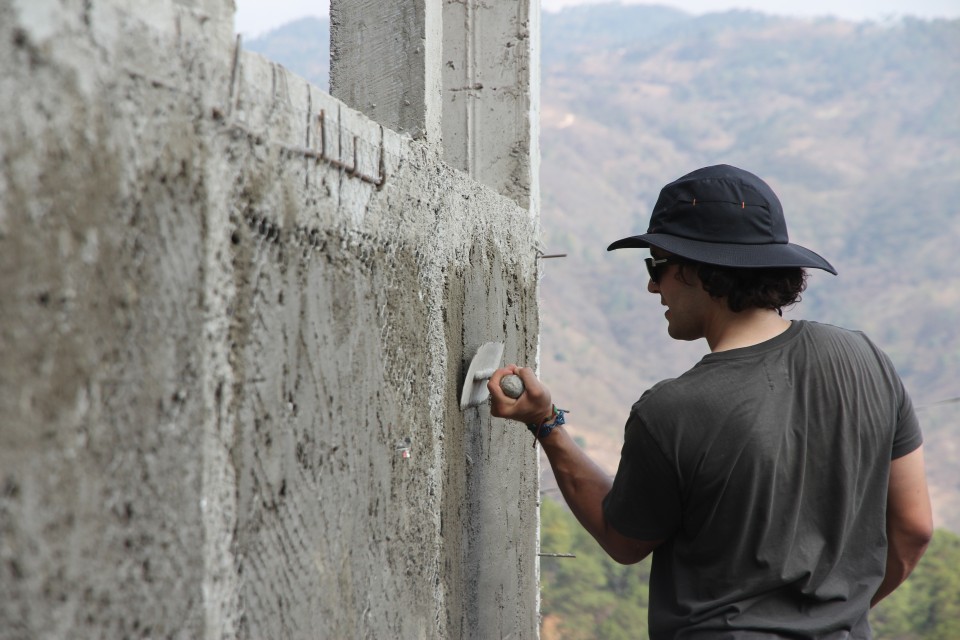
• The second layer of cement is thinner than the first – after this layer, the chicken wire can only just be seen.

• The third and final layer of cement is thinner than the first two, and smooth. The cement for this layer is usually made with yellow sand (which is finer and lighter to give a more finished appearance), and is stroked on to give a smooth, attractive finish.

• Make sure you allow each layer of cement to dry completely before adding the next layer.


Creative IdeasIf you leave an open “window” to showcase the bottles in the wall, it will help the students and the community remember all the hard work they put into building the school. Showcasing the bottles inside the walls of your school will also be good proof to anybody who doesn’t believe that bottles are actually inside the walls.

You can get creative with the showcasing of your bottles:

• Create a section left free of plaster in the shape of an animal, plant, or something else.

• Make a square free of plaster and frame it with a picture frame after the wall is plastered and painted.

• Leave a bottle-window over the door of your classroom so people walking into and out of it can see the bottles.

• Incorporate a section of the bottles into a mural painted by the students.